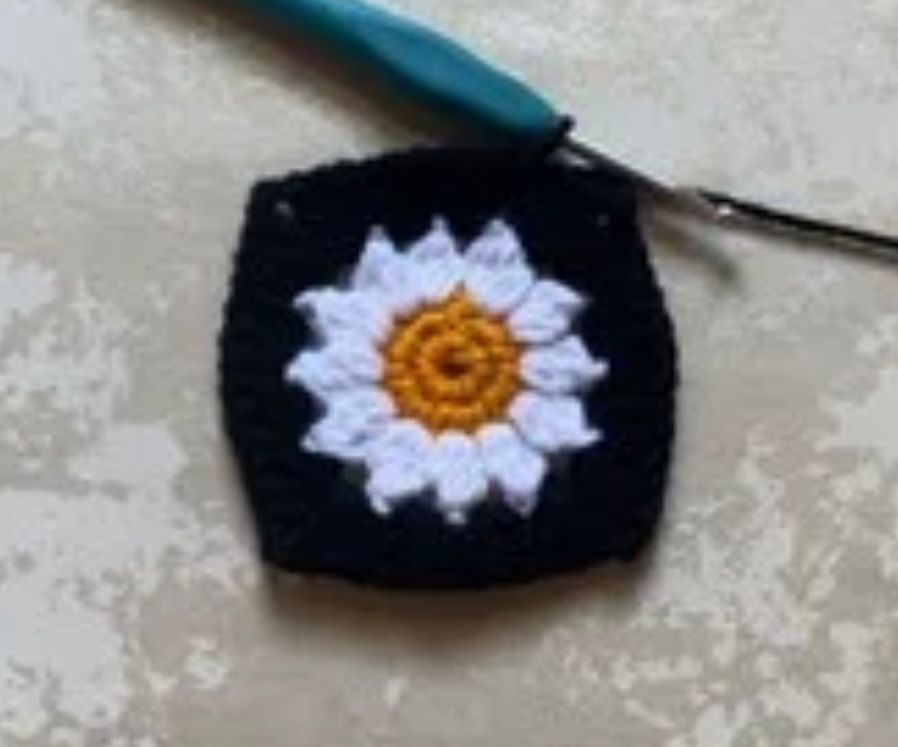
The Daisy Flower Crochet Bag is a delightful and versatile accessory. This is perfect for adding a touch of handmade charm to your wardrobe. The Daisy tote bag pattern features a vibrant daisy motif, beautifully crafted with a mix of textured stitches. This makes it an enjoyable project for crocheters of all skill levels. Whether you are heading to the beach, on a picnic, or just out for a casual day, this bag will carry your essentials in style. In fact with clear instructions, detailed photos, and an explained tutorial, you’ll have a stunning, one-of-a-kind bag in no time!
Materials:
- Firstly, we need very basic materials for this bag. You can also use the leftover yarn for the secondary colors. I am using:
- 1- weight 3 yarn in colors, mustard (50 grams), white (150 grams), and black (200 grams)2-
- 2- 4 mm crochet hook
- 3- stitch markers (if needed)
- 4- Scissors
- 5- Tapestry Needle
Abbreviations:
- ch(s) – chain(s)
- st(s) – stitch(es)
- sc – single crochet
- dc – double crochet
- tog – together
- slst – slip stitch
- x, rep – repeat
Special Stitch: we are using the “3 dc tog” as a special stitch in this pattern. To make this stitch make “make 3 incomplete double crochets, like we do for double crochet decrease, then complete together” In fact, it is a decreasing stitch between 3 double crochets.
Size: This bag is 14 inches in width and 16 inches in length. Strap measurements are not added to the length so you can keep the strap length according to your choice.
Notes to Remember while making
- The pattern is written in US terms.
- You can follow the sequence to make custom sizes.
- Joining is explained in the video. The links are also added in the joining section.
Pattern notes
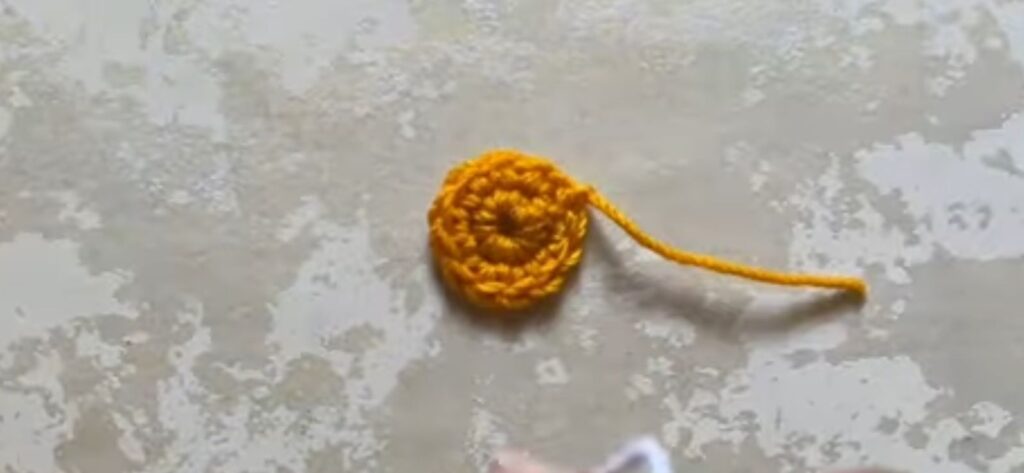
We are making 51 squares for this size bag. However to make the bag start with Mustard yarn and work in rounds. Make 4chs, then slip stitch into 1st chain to make a ring.
R1: ch1, 6 sc, slst
R2: ch1, sc inc x 6, slst (12 sc)
cut the yarn.

Start working with white yarn.
R3: Make a loose ch (do not count as st), “3 dc tog, ch 2” in each st across the round. slst. (12 sts)
cut the yarn.

Start working with black yarn, in ch space.
R4: ch1 (do not count as st), *”3 dc, ch2, 3 dc” in 1st ch sp, 3 dc in next 2 ch spaces* x 4. slst. (48 dc)
Finally cut the yarn. and weave in the ends.

Joining:
In addition, the joining is explained in the video as well, Here is the link to the video. In Fact, the advantage is you can find the video tutorial for this Daisy Tote Bag in right-hand and left-hand tutorials.
For the Righties: https://youtu.be/WhWPaQtl494?si=LQ6t6-St5C4cNYU-
For the Lefties: https://youtu.be/SwzH0kC_SKA?si=XLDXMIIEgAIX7vUo
Since we are done with all the motifs, now sew all the motifs with the black yarn. Finally sew the motifs in the given sequence.
R1: 5 motifs
R2: 4 motifs
R3: 5 motifs
R4: 4 motifs
R5: 5 motifs
R6: 4 motifs
R7: 3 motifs
R8: 4 motifs
R9: 3 motifs
R10: 4 Motifs
R11: 3 motifs
R12:4 motifs
R13: 3 motifs
Mark the motifs of R7. This is the center of the bottom of the bag.
Sew the sides similarly as shown in the video. Cut the yarn and weave in all the ends.
Straps:
Finally, we are making the straps work in the rows with black yarn. Turn the work after completing every row.
Foundation ch: ch 6
R1: skip 1st ch, 5 sc
R2-till required length: ch1, 1 sc in each st (5 sc)
Cut the yarn. I made 15-inch-long straps. You can increase or decrease the size according to your choice.
While posting the pictures, tag us with the pictures of your Bag. We would appreciate it if you give us the credit. Enjoy making this refreshing daisy tote bag also share the pictures to get featured.
At last, you can share your thoughts as well here: Contact


